JUNK ART

Sunday, April 24, 2011

NEW JUNK ART

Well with the advent of spring comes warmer weather, hyacinth &  daffodils, forsythia in bloom, Grass is getting greener,the human race seems to have a renewed spirit after their spirit has been oppressed by old man winter and the follies he has thrown at us. Here on Cape Cod right here in my two car garage amidst the lawn tractor being fueled up and removing the snow plow off of the ATV and putting it on the back wall to rest until old man winter calls again. I have pulled the MIG welder off the shelf and repositioned  all the discarded metal I have collected, "JUNK ART" is my game and the season is now open. Although no piece of work I do is ever complete until it is sold I jumped in and created a few pieces in the past two days and feel invigorated, ready to take advantage of the months to come and get my imagination in overdrive. Here are a few pictures of my latest creations which I hope you will enjoy looking at and knowing that the metal used is not on the side of the road, filling dumpsters, or being buried in some dump.

Here is a used brake rotor as a base from my truck, coiled metal found on the side of the road as seaweed, discarded galvanized building plates from a construction site made into fish and a few nails and two nuts creating a crab on the ocean floor.


two of those discarded galvanized metal plates joined to create "THE BOMB" I took the liberty to paint it and letter it for effect.


There is nothing like an owl screeching through the sky looking to snatch up its prey. Here are two nuts for eyes, a few hammered nails for claws, and a joist hanger for wings. a little brown paint and some gold around the trim and eyes and beak help bring this guy to life
Until next time leave a comment of what you think, It would be nice to hear the good, the bad and the ugly comments. I hope everyone has an enjoyable spring.

Thursday, March 24, 2011

RECYCLING ~ THE GARDEN CALLS.

  • 
  • 
    Some of the seeds we will be planting this year.
    
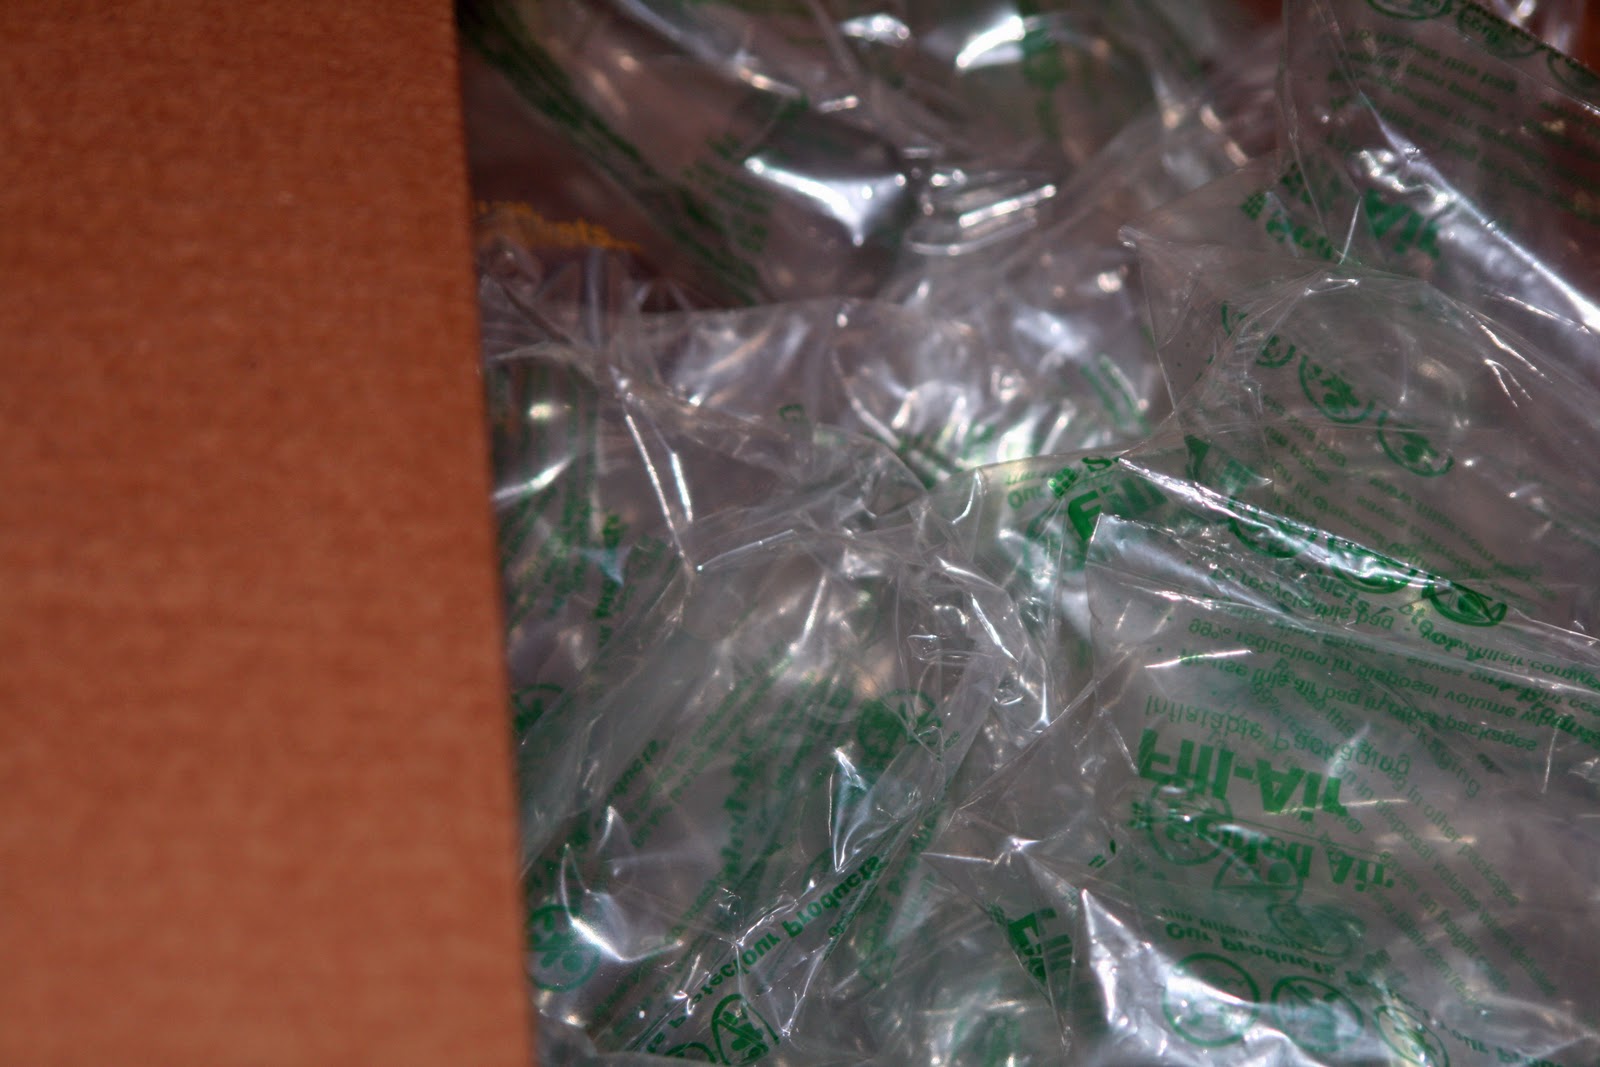
  • It is that time of year, although we had snow today, Spring is upon us, and time to start thinking about getting your veggie garden going. I am always thinking of ways of recycling, and this year I found a neat way to re use some packing material that we get, you may know what they are they replaced peanuts. The small bags of air that protect things when they are shipped can be used to help start your plants.
  • 
    The other day I had 3 yards of what my wholesale stone yard calls "potting mix" it is screened loam and cow maneur mixed together.  I have been using this mix for years for some of my customers as well as for planting around our yard. buying this by the yard saves a considerable amount of money  compared to buying bags of potting soil, and adding amendments yourself.


Packing air bags

Plant mix  soil with vermiculite


Using a big tupperware container, I screened out any little twigs out of the soil and collected it, I added vermiculite which I have an abundant supply of, but you can get at any garden center. Vermiculite will add in aeration of the soil as well as increase water drainage and also keep the soil loose so any nutrientsyou add will be evenly distributed throughout the soil.
Packing bag being filled with soil


Using a pair of sissors cut the top of the bag off and now you have a pouch, fill the pouch that was formerly an air bag. once filled it will be ready to put your seeds in.

bags ready ti put seeds in.
one and a half weeks and presto


As you can see I used a box to put the bags in that I filled with soil. once the box is full I plant the seeds in the bags. once they germinate and start growing and establish a root system I will take the plants out of the bags and transfer them to the garden area.  I hope this little blog gave you an idea of an alternative way to use some of that packing material that might sit in a bag or box, or that would be destined for the trash. Happy gardening.
 What a Joy to see my grandson plant one of the bags of peas.

Wednesday, February 23, 2011

TIS THE SEASON

A sure sign of winter coming to a close, at least here on Cape Cod, is The sighting of the "Garden Bug" migrating back to it's birth place, the garage.  From The yard where it over winters under  the gray days of winter, and the accumulation of snowfall that has fallen from its skies.  This means that the garage is ready to start production of metal art from discarded metal found all over the great sandbar of the Atlantic. As time allows this season (2011) is showing promise of some usual and unusual metal art forms being created. Keeping in tradition of recycling I will use no "new" metal, all must be discarded. Stay tuned if you are interested. Happy forthcoming spring to all. ~ Lou @ DIME ART!  (DIscarded MEtal ART)

Monday, January 3, 2011

COLD CAN CRAMP YOUR STYLE

Pretty unusual title for a craft type blog, but when welding is involved, there are not too many places you can move your welder. Welding in the living room has proven to make for some horrific times! as a firefighter, I have seen first hand "welding in the house" NOT GOOD!  Basements also do not offer much ventilation, and again  would be considered in the house. So when welding outside in 20 degree weather will bring a nice chill to your bones, I guess it is time to stop until it gets a bit nicer out. So I am taking some time to pre plan some projects with material I have found. and as always I need to remember my mission, "JUNK METAL ART" sort of limits my productivity also. So winter is upon us, my quest for scrap metal in full swing, I hope to resume welding when the weather is kinder to me. HAPY NEW YEAR 2011 to all.

Sunday, November 14, 2010

A CHRISTMAS ORNAMENT THAT IS A SWEET TREAT!

Well it is not often I find myself in the kitchen being creative like my wonderful wife, making edible items that is.  Today wondering around one of our local stores something caught my eye, CANDY!  No not the traditional bars at the check out, or packages sold to the masses like Hershey bars or the like, but a bag of candy 20 plus years ago I would always buy and make decorations with.  It was a fun time for me and the kids, a time dad who is unskilled in the kitchen to have a go at making something fun, as well as something we did not need a fire extinguisher to put out!  This bag of candy brought me back to the time the kids hearts filled with joy and excitement, waking to gifts that just appeared out of nowhere. Decking the tree out with construction paper chains, strung popcorn here and there, and after a while DAD's (that's me) tasty Christmas ornaments that rivaled the traditional candy canes! Well they are older now, have children of their own, and I thought I would pass along how to make these fun and simple tasty treats to those who may or may not have made them before. So Here I go, I do not work for FOOD NETWORK, or THE COOKING CHANNEL so please be nice. You may have done this before, maybe not, and if you have not I hope you try it out!
Find the holiday candy of your choice, in my case Brachs Christmas Nougats with the tree make it easy, but you can use whatever soft candy you feel will make a festive pattern.

Try to select the best pieces that are consistent in pattern as well as thickness. (any pieces that are uneven may create a thin area after baking and crack)
Pieces  that are irregular or have a distorted pattern should not be used, but discarded in the traditional fashion, unwrap and eat! : )
As you can see I arranged 7 pieces in a shallow 3 1/2 inch non stick  pie dish, perfect for this project, you can also use tins from little pies, or any circular enclosed dish depending on the size of the project, but this will go on the tree so 3 1/2 inch is about the limits.

I pre heat the oven at 250 you may choose to make it warmer or cooler, but beware the candy will discolor if it is over heated, i have found 250 degrees for about 5-8 minutes works out fine.( your location may dictate shorter or longer times due to elevation, just a note)

After about 7 minutes and a few peeks in the oven I decided the ornament is ready to be taken out.
and here is the results, the trees stayed in form and it has a nice mosaic look, and oddly enough I managed to get the letter "S" in it, The first letter of my last name, strictly coincidence.

After a few minutes of cooling you will be able to use a fork, straw or some other type of instrument to put a hole in the ornament for hanging purposes, but don't wait too long or it will harden and you might have to break out a drill.(laugh it relieves stress) At this point I like to float the tin in a pan or bowl of cool or iced water to help it cool down evenly.
And here is the somewhat finished product with the hole for a hook or ribbon, to remove this from the pan, I used a sharp paring knife and went around the edge of the pan to loosen the ornament.  And it came out no problem, beware if you try to do this too soon, you may end up bending the candy and distorting the shapes, but i know you will wait.

And here is the finished product hanging on a tree in the yard, I used a silver string to tie it up, but a hook, or ribbon may be the right choice for your tree.


And if you happen to want to be unique, all you have to do is turn the ornament around, and you can have an ornament worthy of hanging off any dorm room tree, and would probably look absolutely in place as you consume some egg nog, or wine or whatever beverage you choose to relax with.


 So There you have it, A very inexpensive, fun way to make something different this year, For you, your children, or even your grandchildren! and the best part is, these are totally edible, and if the old candy cane is not cutting it this year, just walk on over to the tree, and take a bite out of your sweet Christmas treat! I hope you enjoyed my one and probably only cooking craft. All my best and may your Christmas be SWEET!


Saturday, September 25, 2010

I'M LEAVING ON A JET PLANE.....

I am leaving on a jet plane, Don't know when I"ll be home again.....That is how the song goes, or went as I have not heard it in a while. Today I finally bid the "JUNKET JET" a fond farewell, out of the shop and into the skies! It has found it's resting place in the yard hanging on the front porch, I have washed my hands of this flight to a Land of fantasy nowhere. May it be alive in the air, and bring me much criticism.some just don't consider it art! but to me it is as cool as the vapor trails off a real jet engine at altitude. When I feel inspired I may pull it down and work on it some more, until then........Good bye  my wayward friend!